Introduction to the Basic Settings in the Genesis Framework
In the previous article, I helped you go through the Genesis Framework installation. In this part of the series, I will introduce you to the basic settings in the Genesis Framework. You must pay attention and make sure all of these necessary settings are applied.
Genesis offers an excellent set of settings that makes customization an easy task. These customization settings are present in WordPress Customizer and Genesis Theme Settings pages.
To better understand these options, let’s go through them one by one.
Theme Settings in the WordPress Customizer
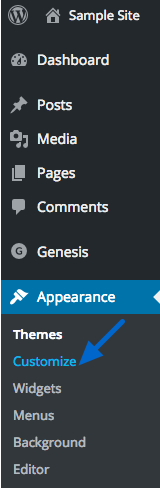
Before publishing any changes to your website, use the WordPress Customizer to edit the child theme options. To get started, go to Appearance >Customize to access the customizer:
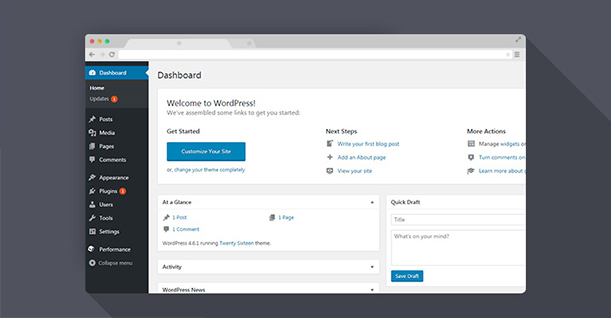
This is the Customizer view with the preview of your site on the right:
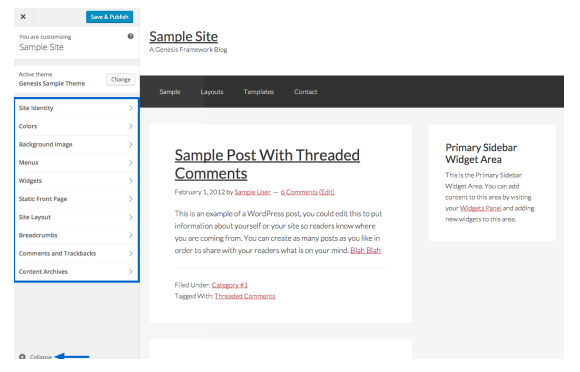
Any changes you make here are previewed at the same time on the right side. Go through all the changes you want and once you are finished with the modifications, click on Save & Publish.
Let’s look into the options available in the Customizer.
Site Identity
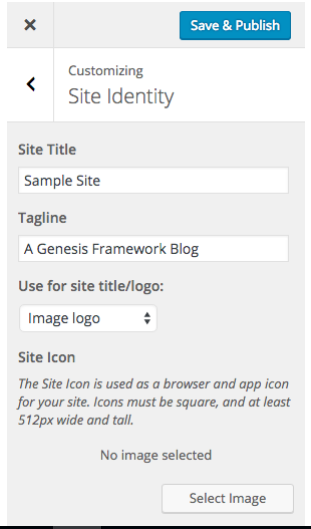
In the Site Identity section, you can set your site’s title, tagline and icon. You can choose whether you like to display an Image logo or Dynamic text for your site’s title.
Colors
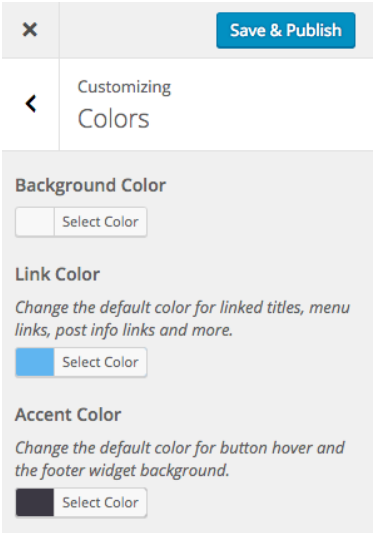
Background Color
You can select the background color for your website here. If you have used a background image, colors will not be shown because they are located behind the image.
Link Color & Accent Color
Here, you can select a Custom Link Color and Accent Color applying on links, navigation menu link hovers, buttons, and footer widget backgrounds.
Header Image
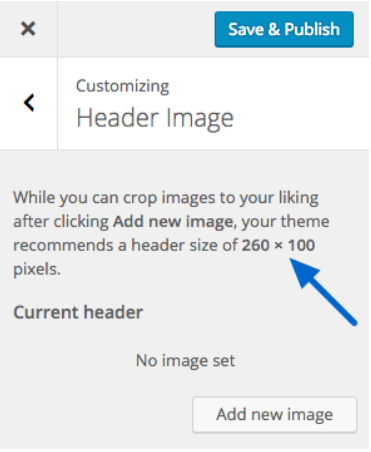
You can upload a header image or logo to display. The size of the logo may vary from theme to theme; it is mentioned in the description as well.
Background Image
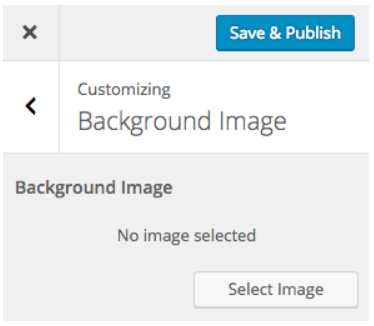
If your theme gives the option to select a background image, you can do it from there.
Menus
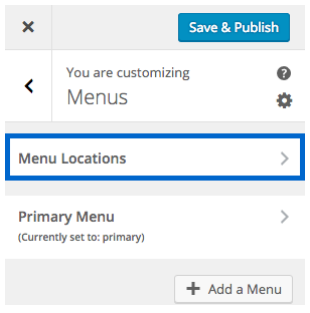
Click Menu Locations to see the available locations. Here you can edit, manage and create new menus as well.
Selecting Menu
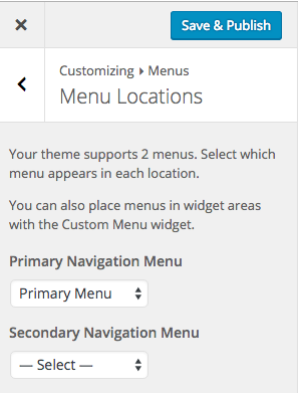
Most themes support two menus and you can select a Primary Menu from the top menu bar, footer and other parts of your website. These options will vary from theme to theme.
Creating a Menu
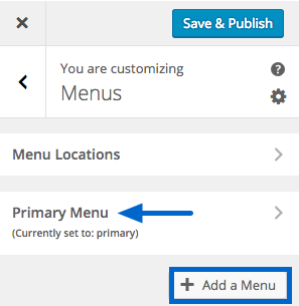
Press the Add a Menu button to create a new menu.
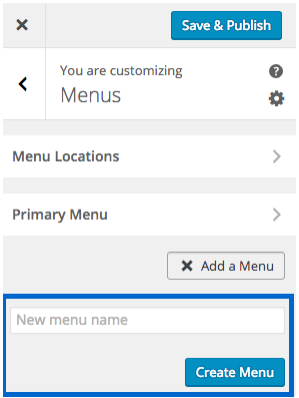
Write the name of your menu and click Create Menu.
Adding Items
Press the Add Items button to add links to the menu.
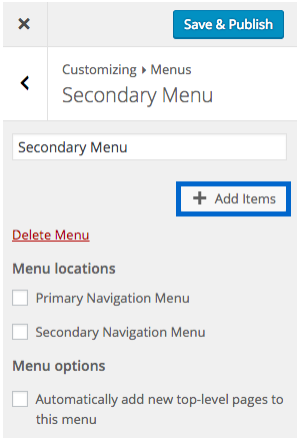
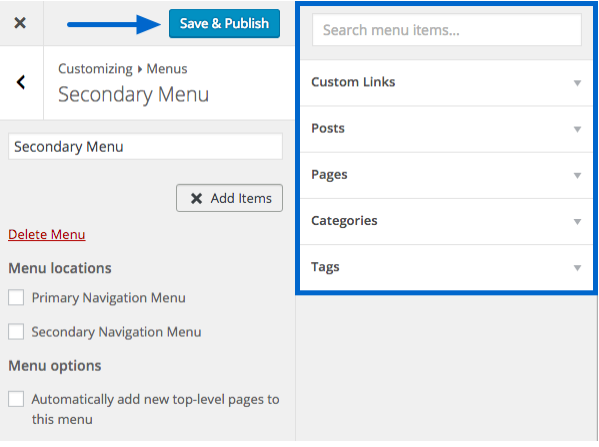
After adding all the menu items, click Save & Publish to save your settings.
Widgets
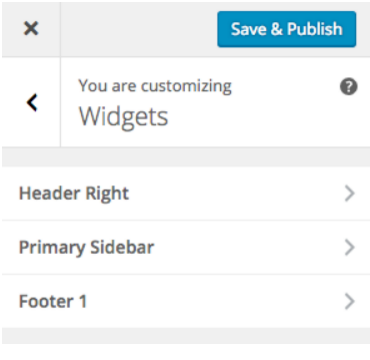
Widget areas are where you can place code snippets or small features. Each theme has its specific widgets and widget areas. You can add and configure widgets in any widget area according to your theme.
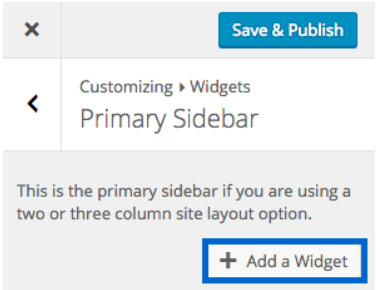
Press the Add a Widget button to add a widget to this area.
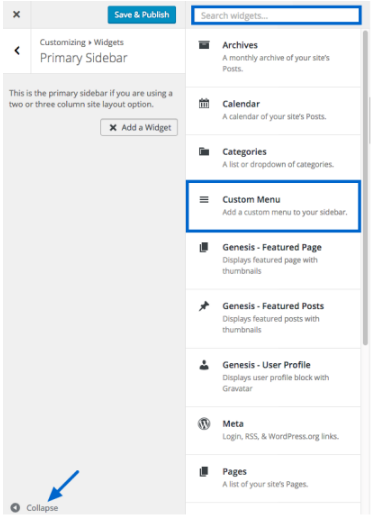
You will see a list of all the available widgets.
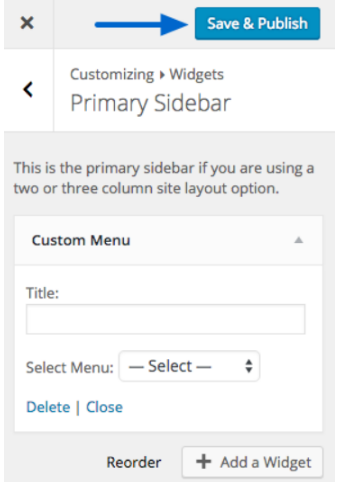
Once you are done with the menu settings, press Save & Publish to apply changes.
Static Front Page
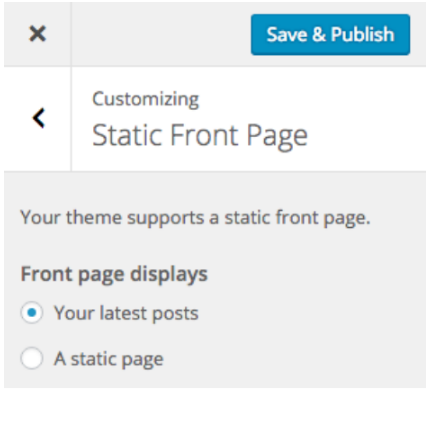
By default, your latest posts will appear on the front page, giving a blog-style look. You can also select any other static page as your front page.
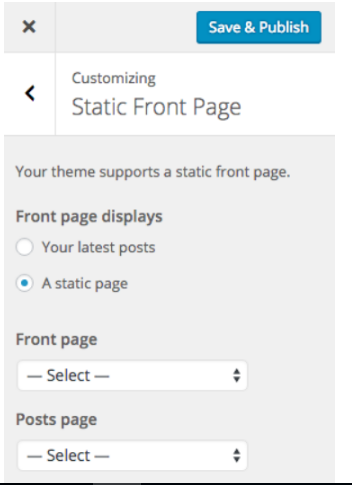
You can also select a static page as your front page. Moreover, you can choose which page will show blog posts, and keep in mind that it must not be the one you selected for the front page.
Site Layout
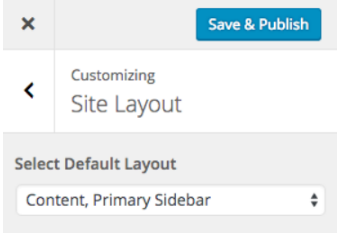
Here you can select the default layout of your website. You can add or remove website layout options in your child theme with custom coding. There are various combinations available to select like Content, Primary Sidebar, Full Width and many others.
Comments and Trackbacks
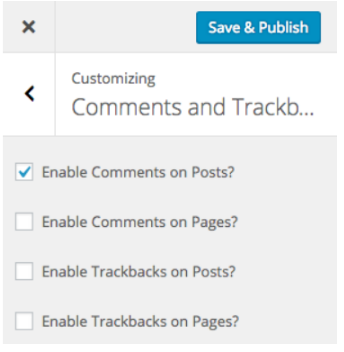
Comments settings are available in this option, as you can see. You can enable/disable comments on posts and pages. Also, you can set trackbacks of pages and posts here. Click for more information about Trackbacks here.
Content Archives
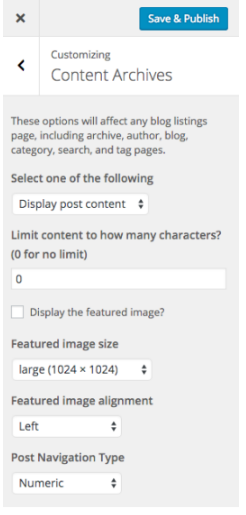
Content archiving is managed in this section. You can set how your content will be displayed on category, author and other relevant pages. You have the following options available:
Display post content: This setting allows you to display full posts on archive pages.
Display post excerpts: It enables the first 55 words of a post to be displayed and the HTML will be stripped from any content that’s included.
Display feature image. This box enables featured images for the post.
Featured image size: It shows available sizes for featured images.
Post navigation type: It allows you to select any of two navigation display methods: Previous/Next or Numeric.
Theme Settings Screen
Genesis’s menu options are added to the WordPress sidebar.
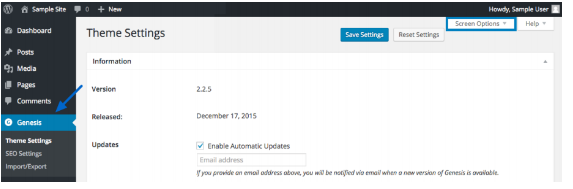
It includes the following menu options: Theme Settings, SEO Settings and Import/Export.
Theme Settings
Settings in this section are mostly similar to what we did above in the WordPress Customizer. Here is a detail of what you can do here:
Information
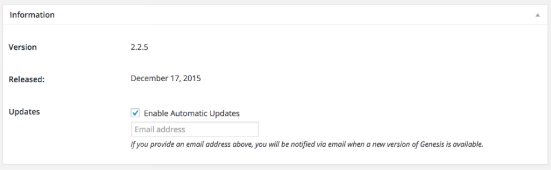
It is more like the background on your Genesis Framework showing the version number with its releasing date. You can check the Enable Automatic Updates option to get automatic updates. You can add your email address to get notified about updates.
Custom Feeds
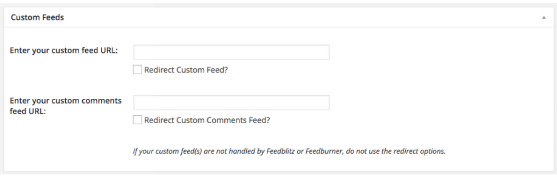
If you wish to use the default feeds that WordPress generates, leave these boxes empty. Checking the Redirect Custom Feed and Redirect Custom Comments Feed options will redirect the traffic to the URLs you enter in the above fields.
Default Layout
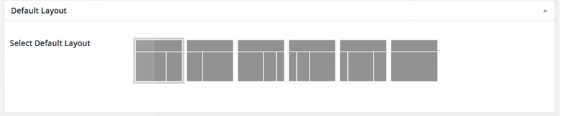
Here you can select the default layout of your theme in a graphical manner.
Breadcrumbs
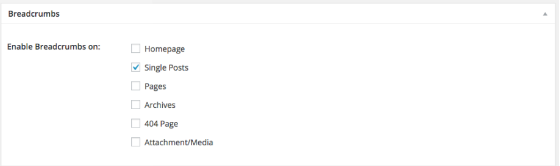
The Breadcrumbs options are available in this section for homepage, posts, pages, archives and other options.
Comments and Trackbacks
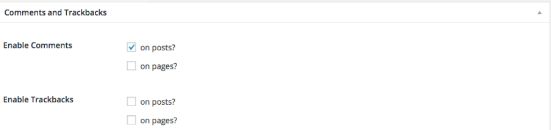
In this section, you are given the Global settings for Comments and Trackbacks. You can select them both for posts and pages.
Content Archives
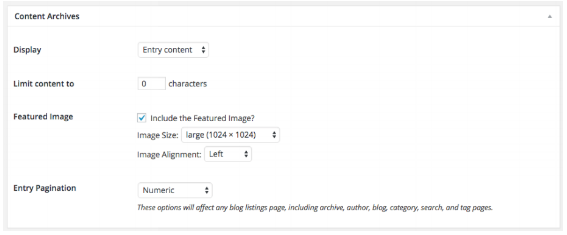
Entry Pagination has the option to select whether you want to have the Numeric or Next/Previous navigation on various pages like category, author date, tag, and taxonomy archive pages, pages using the blog page template, and on blog style home pages.
Blog Page Template
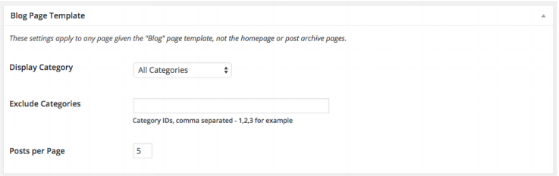
This page will show the recent posts just like the homepage view. Also, these will apply only to pages using the “Blog” page template. You can select a particular category to display and also exclude categories by entering their ID in the Exclude Categories box.
Header and Footer Scripts
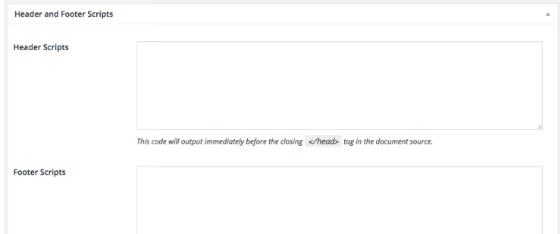
For custom codes, you have the option to add code snippets of your own or any other third-party in these sections. You can add scripts in both header and footer section of your website. One of the most used is the Google Analytics tracking code in the Header Scripts box.
SEO Settings
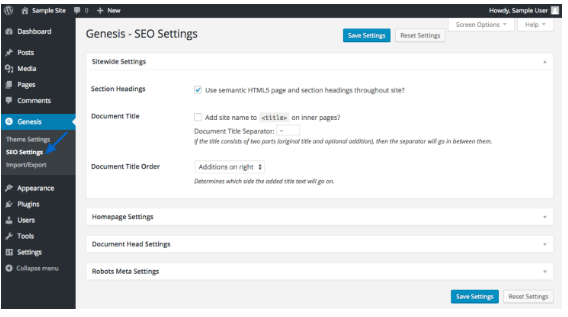
You can utilize the SEO Settings options in WordPress Dashboard if Genesis SEO is active. Genesis also takes cares of the SEO demands for your website. And if you are using any special SEO plugin, the Genesis SEO settings are disabled. Default SEO settings are good enough for most users. For more specific information about the Genesis SEO settings, check out this tutorial.
Import/Export
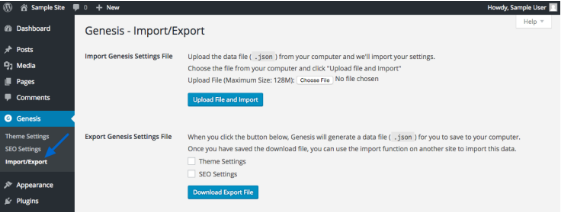
Import the Genesis settings of another site or export your site’s Genesis settings so that they can be used on another website. This only applies to the configuration; your posts or pages do not get import/export here.
Conclusion
In this installment of the Genesis series, I have gone through all the basic settings in the Genesis Framework. I hope you can easily configure your Genesis Framework and have no issue in understanding the child theme as well. In the next part, I will focus on Layout Customization of the Genesis Framework.
Create Faster WordPress Websites!
Free eBook on WordPress Performance right in your inbox.
Moeez is ‘The’ blogger in charge of WPblog. He loves to interact and learn about WordPress with people in the WordPress community. Outside his work life, Moeez spends time hanging out with his friends, playing Xbox and watching football on the weekends. You can get in touch with him at moeez[at]wpblog.com.