How to Add Push Notification on Your WordPress Website

One of the best ways to keep your visitors coming back to your website is by adding push notifications on your WordPress website. If you’re wondering how to add push notification to your site, though, don’t worry because I’m going to tell you exactly how to do that!
Table of Content
In case you’re wondering, an easy solution to this is the OneSignal Push Notification tool. Hence, In this article, I will take you through the process of adding push notification to your WordPress website via OneSignal.
Before we begin, though, let’s go through what exactly is a push notification and why you really need one!
What is a Push Notification?
A push notification is a notification message that is displayed on your subscribers’ desktop and mobile screens whenever you send a message through OneSignal or any other push notification service.
The message can even be displayed when your subscribers aren’t using their browsers, so push notifications are a smart way to distribute your content to your readers.
Why Do You Need Push Notifications?
There are plenty of enticing reasons why you should have push notifications for your website. Here are some of them:
Reengage Engaged Visitors
Push notification is an excellent marketing technique to re-engage your subscribed users. In essence, your subscribers are those people that not only read your work but also liked it enough to subscribe for more content. And if that’s the case, it’s essential that you send your subscribers new pieces of your content to keep them engaged, and one way to do that is through push notifications.
Increase Referral Traffic
Push notifications give you plenty of referral traffic. You can write about the latest news and updates in your industry and immediately shoot a message through your push notification service. This way, your subscribers are more likely to click on a message containing a news article rather than regular content.
It’s Still Relatively New
Businesses are still adapting to this relatively new way of distributing content. They are slowly making a transition towards push notification but are still using email marketing and social media for content marketing. While your competitors are not aware of the potential of push notifications, you must take full advantage to stay one step ahead of them.
How to Add WordPress Push Notification on Your Website
As mentioned earlier in the article, we will be using OneSignal to help you set up push notifications on your website because it’s an awesome push notification service that lets you collect a list of subscribers and then send push messages on their mobile and desktop.
OneSingal has a rather amazing free plan, but if you want to go bigger with your audience, you can opt for their paid plans as well.
Let’s start.
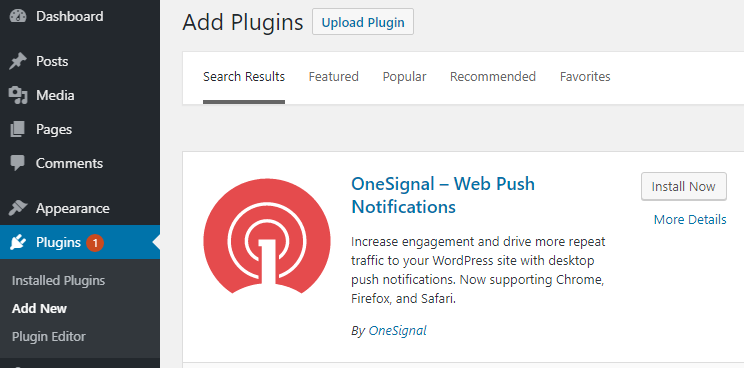
Step 1: Install OneSignal Plugin
To integrate OneSignal on your WordPress website, you need to install their plugin. It’s free so you can easily install it from the WordPress repo.
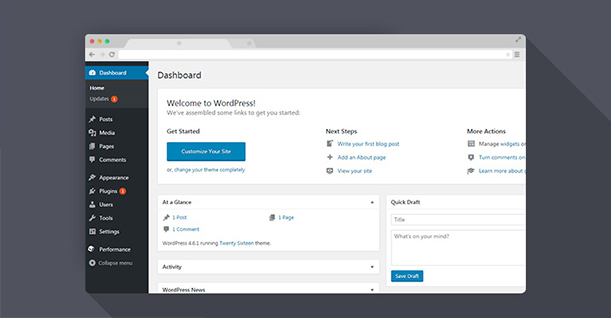
Once you have installed and activated the plugin, you will see OneSignal Push on your admin panel sidebar.
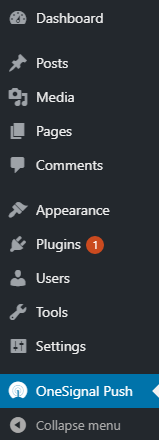
Click on OneSignal Push and you will access the settings and configuration page.
Step 2: Setup OneSignal
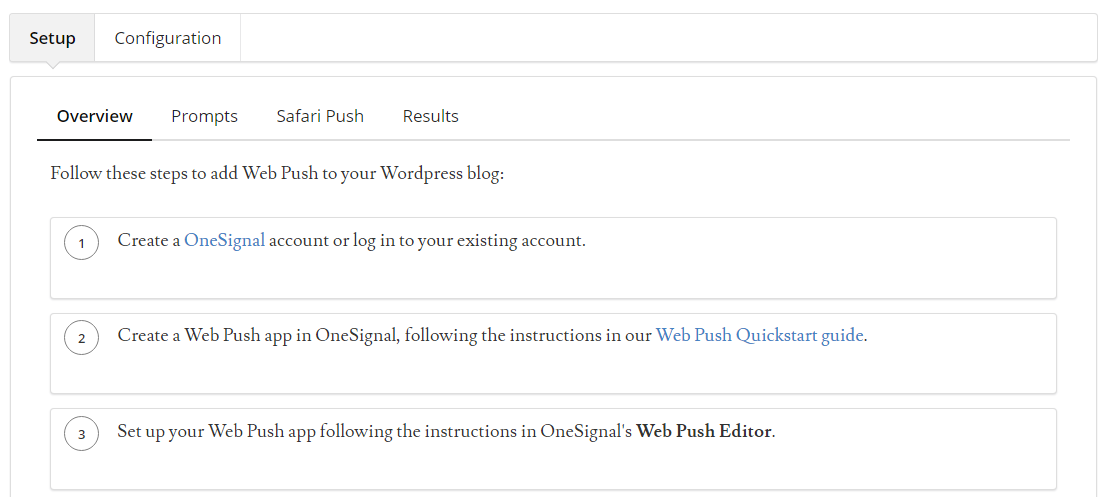
On the settings page you will see 2 tabs:
- Setup
- Configuration
While the Setup page will guide you on how you can setup OneSignal push notification on your WordPress, the Configuration page is where you actually set up OneSignal push notification on your WordPress.

Firstly, you will notice that you need an App ID and Rest API Key to integrate OneSignal with your website. You will get this information once you signup to OneSignal.
2.1 OneSignal Signup
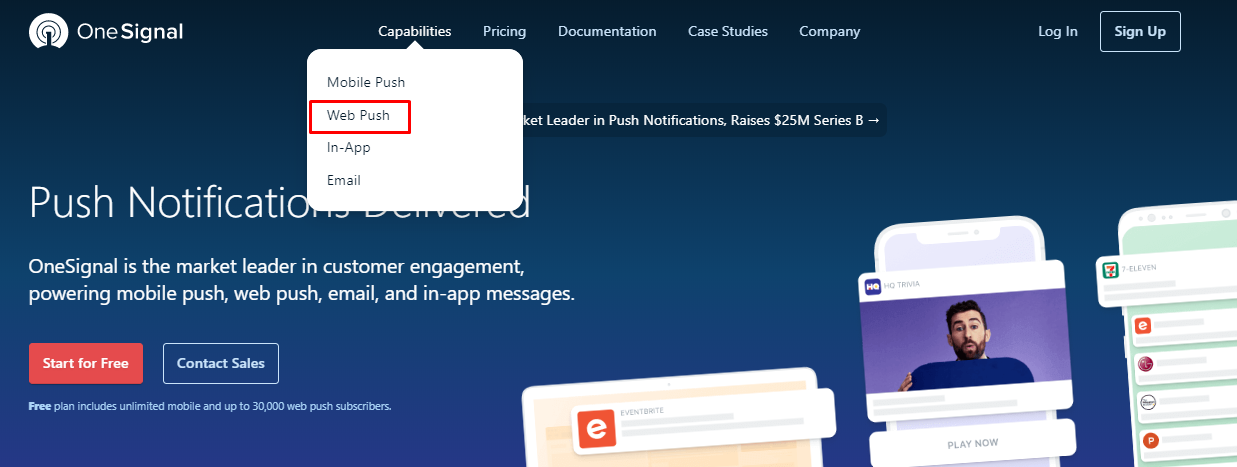
Visit OneSignal’s website, hover on capabilities, and click on web push.
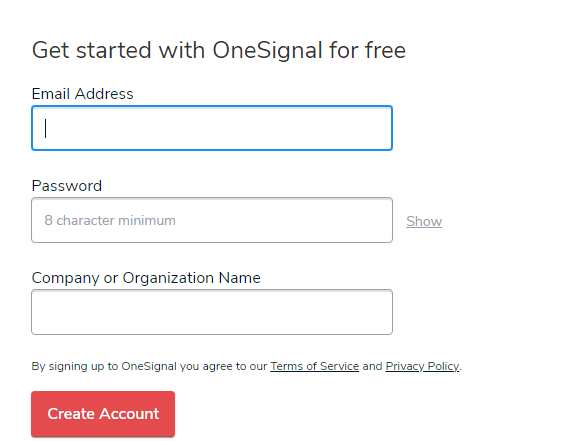
You can now create your free account on OneSignal mobile by entering your email address and company name.
Once you’ve created an account, you will get a confirmation link in your email. The confirmation link will take you here…
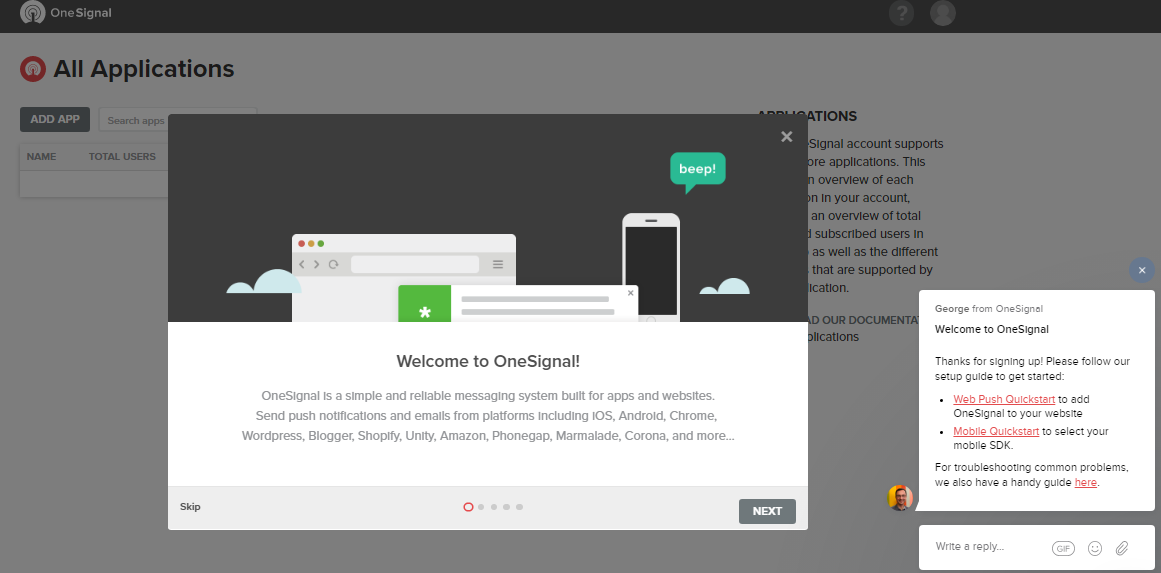
You can read the manual or close it and get started right away.
You will see a button on the top left that says “ADD APP”.
2.2 Add Application
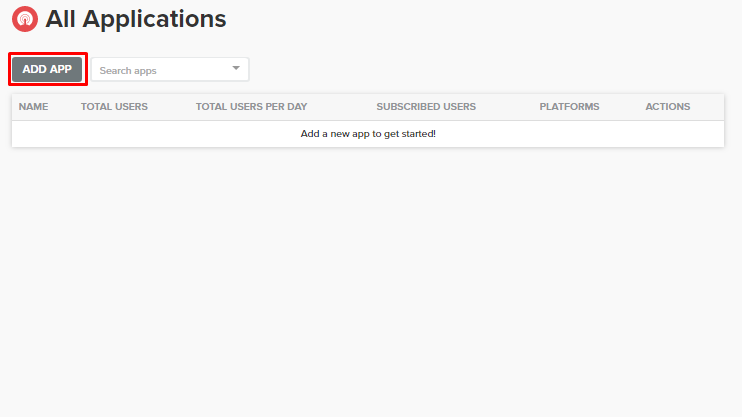
Click on the button and you will be asked to name your app. Give your app a name and click next to continue with configuring OneSignal.
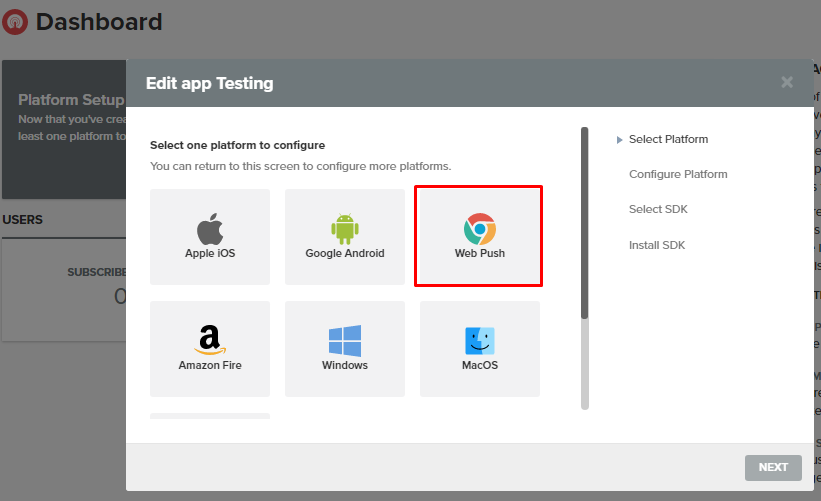
The next window will ask you to select a platform on which you want to run your app. For this tutorial, we’re using Web Push. Once you have selected your platform, click next.
You will be redirected to the configuration page where you will now be configuring push notification on your WordPress website.
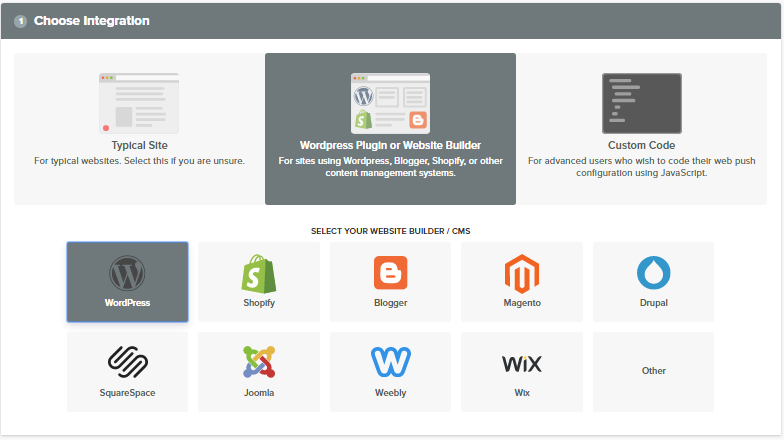
Step 3: Configure OneSigal
First, you have to choose the integration that you want. Since this tutorial is about integrating push notification on WordPress, we would choose a WordPress plugin or Website Builder > WordPress.
3.1: WordPress Site Setup
The next step in configuring OneSignal is to input your website’s information.
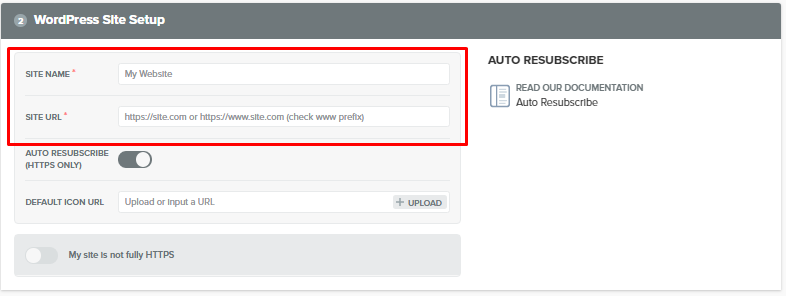
Under the space for site information, you’ll see an “Auto Resubscribe (HTTPS ONLY)” toggle. This is only for HTTPS sites using an SSL certificate. If you turn this on, your users will be able to resubscribe when they return to your website without being prompted.
The Default Icon URL is where you can upload your favicon image. This will appear on the notifications so we recommend you upload your site logo with a size of 80×80 pixels and it should be in .png, jpg, or gif format.
In the end, there’s another toggle which you must turn on if your site is not using an SSL certificate.
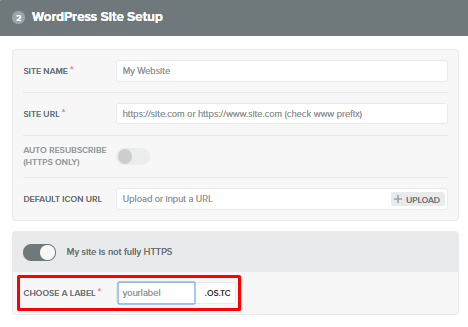
Once you turn on the toggle, you’ll be asked to choose a label. If your WordPress website is using WordPress as a hosting service or is self-hosted, then you must choose a unique label that will be displayed on your notifications.
3.1 Configure WordPress Plugin
Once you’ve entered your site information and label (if any), click next to move to the next step. You will be redirected to the Configure WordPress Plugin page.
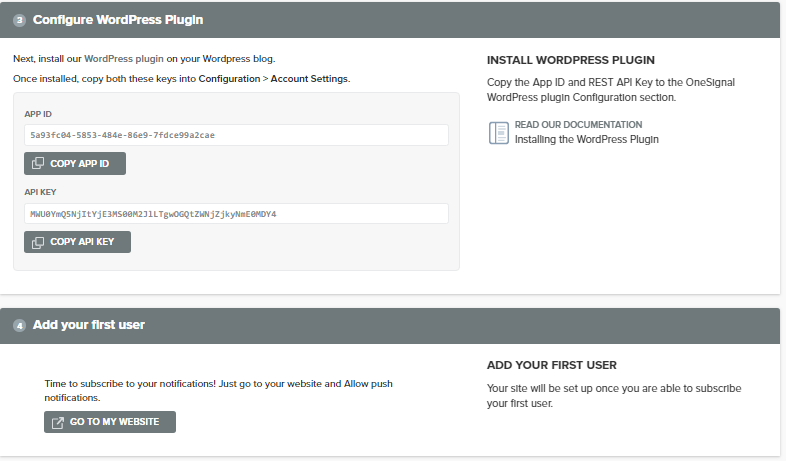
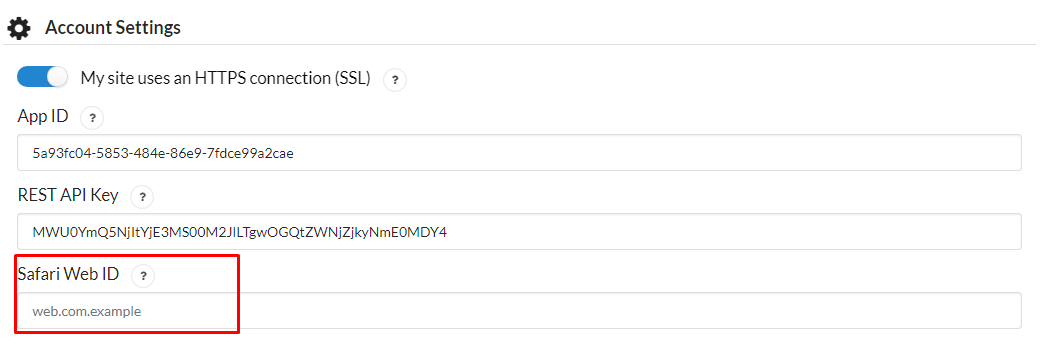
Remember the APP ID and API Keys we talked about? This is where you’ll find it. You have now successfully generated your ID and Key.
The GO TO MY WEBSITE link will take you to your website if you have entered the right URL in the last step. Click on the button to finish the remaining configuration.
Step 4: Finishing OneSignal Configuration
After returning to your website, go to your WordPress dashboard and open OneSignal settings from the sidebar. Select the configuration tab and enter your App ID and API Keys.
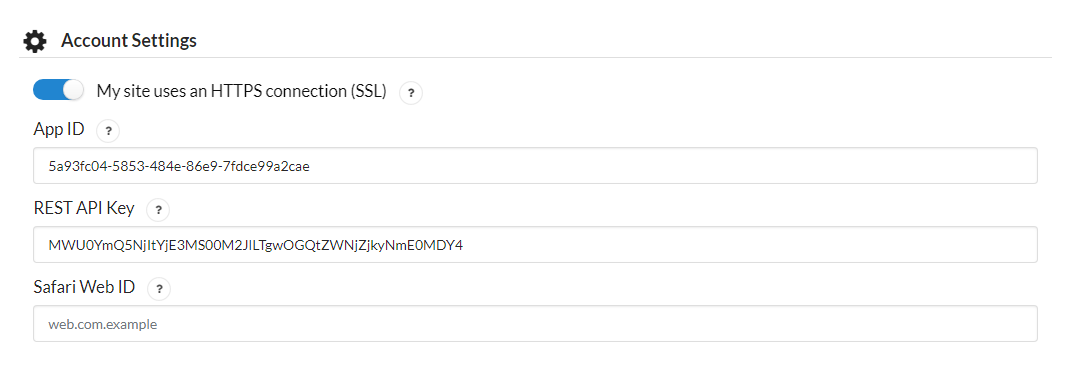
This will now allow you to send push notifications through Google Chrome and Mozilla Firefox. To send notifications through Safari, though, you will need to go back to your OneSignal account settings.
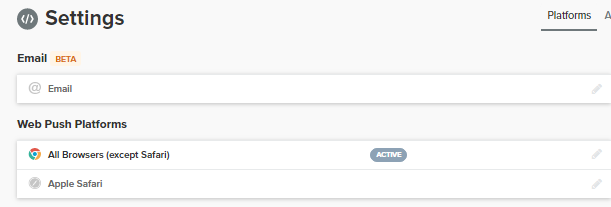
Here, you’ll see a separate tab for Apple Safari. Once you click on the tab you will be asked to input your site name and your site URL. Upon entering your site information you will be given a web ID.
Copy this Web ID and paste it here…
Click Save and OneSignal will be installed and configured on your WordPress website.
How to Customize Your WordPress Push Notification
If you don’t customize your push notifications, OneSignal will send a generic message to your users which won’t reflect your brand’s voice. So to make changes to your push notifications, simply go to OneSignal plugin settings from your WordPress dashboard and select Configuration.
Scroll down to Prompt Settings & Subscription Bell.

You will be able to customize the way your visitors can subscribe to your push notifications here. OneSignal offers an easy way to customize the prompt through various toggles and you turn these toggles on or off according to your liking.
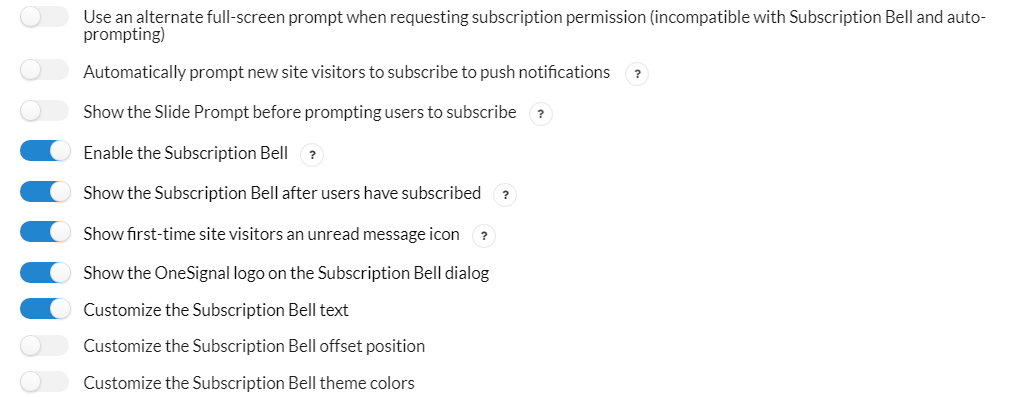
You can also change the size, position, and theme of the prompt

The most important aspect of your push notification and its prompts is the messaging and must ensure that it aligns with your brand so your visitors feel inclined to subscribe to your push notification.

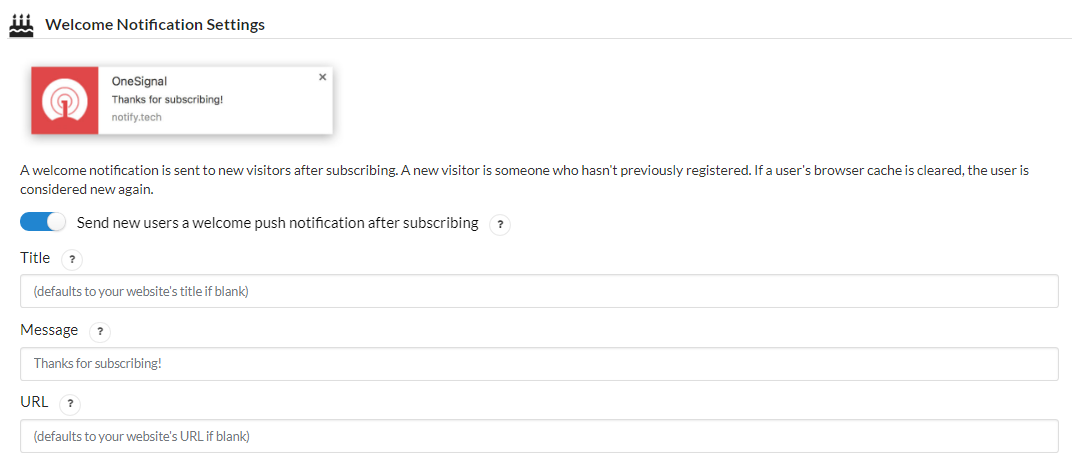
You can also customize Welcome Notification Settings.
How to Send Your Push Notification Message
Now that you’ve configured OneSignal and customized your messaging, it’s time to send your first push notification to your subscribers.
To send your push notification, log in to your OneSignal account and go to Messages.
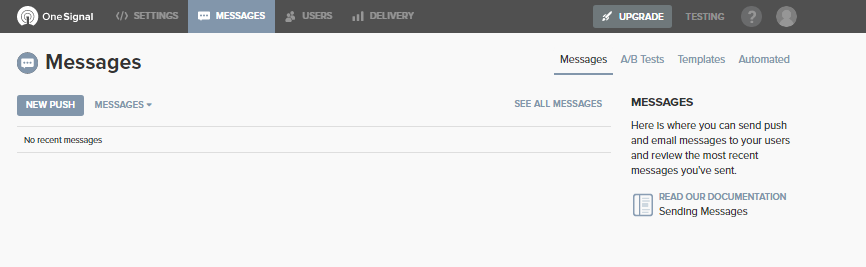
Click on New Push and you will be directed towards New Message settings where you can design and send your message to your subscribers.
First, select your audience.

Since OneSignal creates different segments of your audience, you can either send a message to a particular segment or you can send it to the entire audience.
Or, you can send a message to a test device. From your audience, you can select one subscriber to be the test device which can be you or someone from your team. Also, it’s always a good idea to send a message to a test device before sending it out to your list of subscribers.
The next step is to design your message. Make sure that your message title is enticing and your message has a clear description of what the push notification is about.
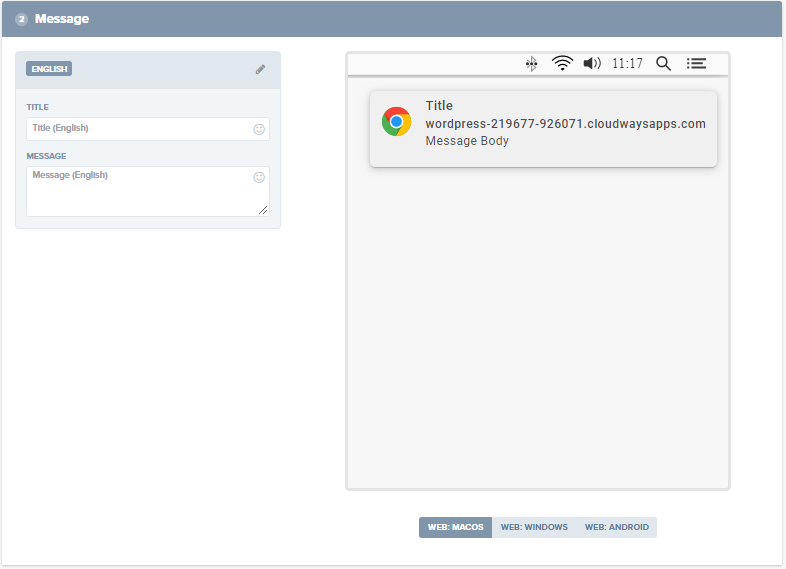
On the right, you can see the preview of how your message will appear on macOS, Windows. and mobile devices.
Once you have set the title and the message, the next step is to set images for your push notification.
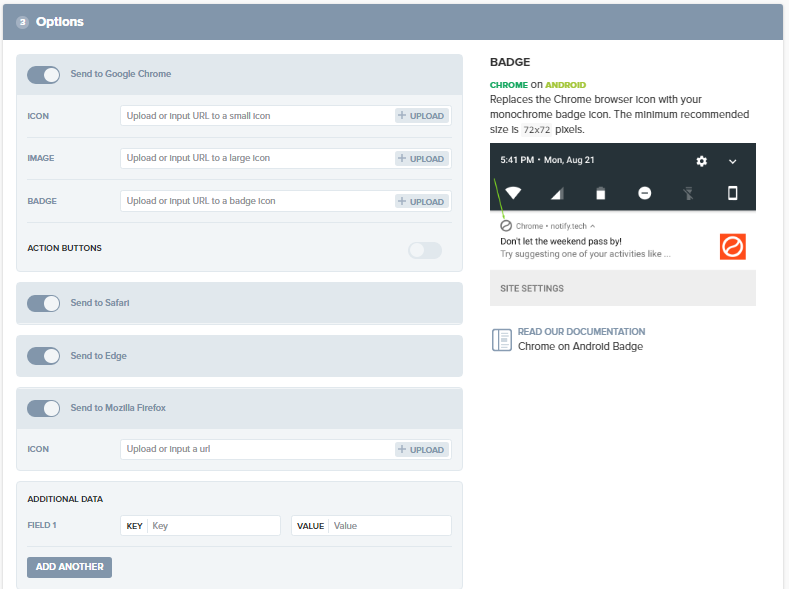
The Icon is the small image that appears on your push notification alongside your message.
![]()
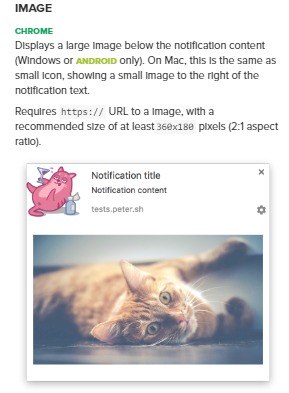
The Image is a large image that is displayed below the notification title.
The Badge is a small icon that is displayed on a mobile screen alongside your message
![]()
Once you have set your images, you need to enter the URL of the article or the page you will be directing your subscribers to.
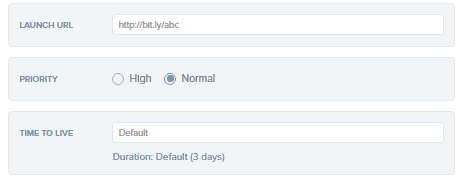
You can also set the priority for your message according to your preference.
Your notification will expire if your subscriber’s device remains offline for 259,200 seconds (3 days). You can define your own time frame in the Time to Live field.
The last step is to schedule your push notification.
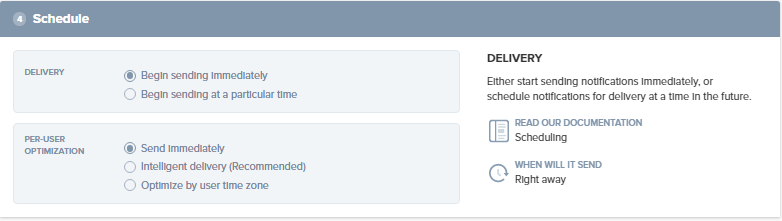
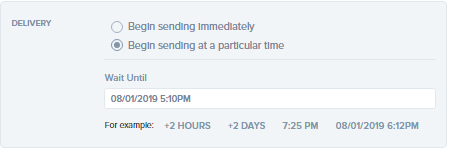
You can either choose to send the message immediately or you can schedule it for later by clicking on Begin sending at a particular time.
For further delivery optimization, you have three more options.

You can choose to send the message immediately and it will be sent to all users at the same time.
Intelligent delivery delivers your message over a period of 24 hours at the time each user is most likely to be active. It increases your chances of a better click-through rate.
Optimize by user time zone lets you send messages at the same time no matter where the user is at that time.
Once you are done with designing and scheduling your push notification, just click Confirm and your message will be sent. You can also save it to draft if you want to make more changes later.
Final Words
Push notifications can prove to be a great addition to your content marketing strategy if done right. I hope that this article covered everything you need to know about OneSignal push notification and you can configure it on your WordPress website.
If you have any questions, feel free to leave a comment or email me at [email protected]
Create Faster WordPress Websites!
Free eBook on WordPress Performance right in your inbox.
Moeez is ‘The’ blogger in charge of WPblog. He loves to interact and learn about WordPress with people in the WordPress community. Outside his work life, Moeez spends time hanging out with his friends, playing Xbox and watching football on the weekends. You can get in touch with him at moeez[at]wpblog.com.